
Materials for building your coop
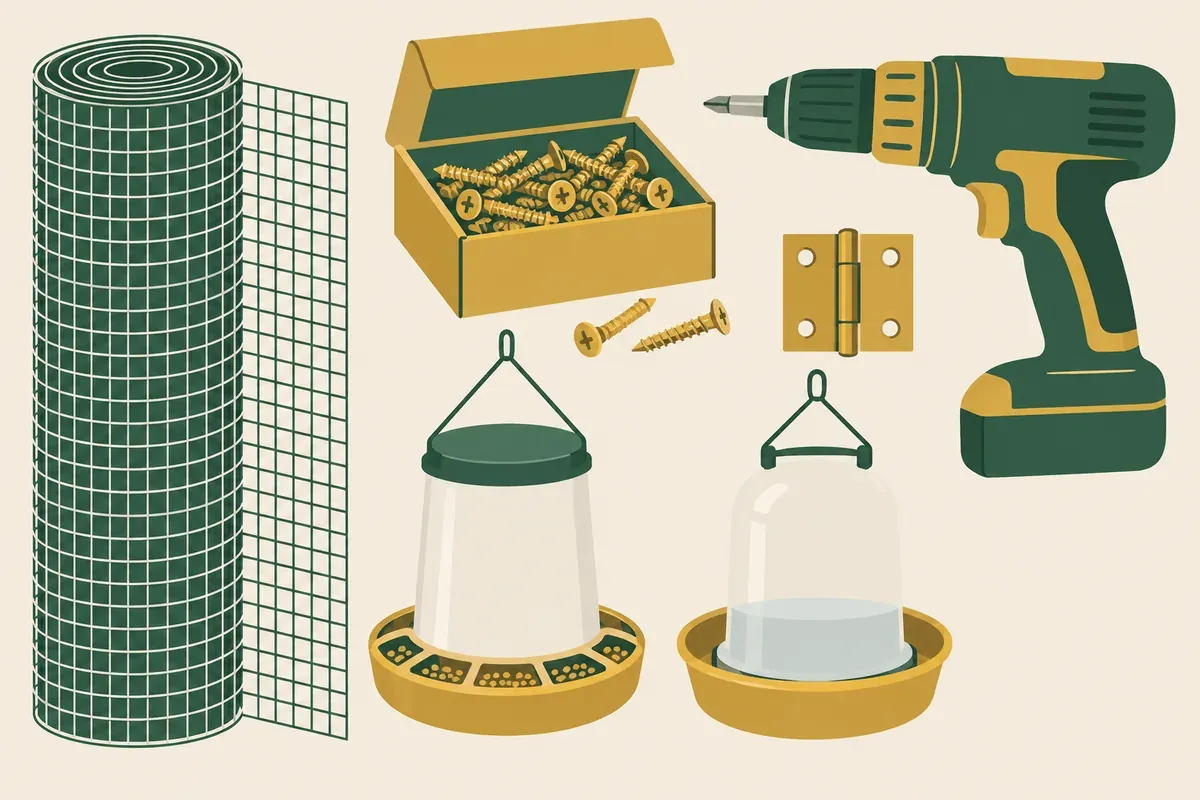
These are the categories of hardware and supplies the plans on this site call for: half-inch or smaller hardware cloth for runs and vents, exterior wood screws, a driver and saw, plus feeders and waterers once the coop is built. Links go to Amazon.
- Hardware cloth (1/2 inch or smaller) for runs, vents and predator-proofing.
- Exterior wood screws rated for outdoor framing.
- Driver and saw for cutting and assembling the frame.
- Feeders and waterers for once the coop is built.
As an Amazon Associate, Coop Build Plans earns from qualifying purchases made through these links, at no extra cost to you. Exact quantities for your build are in the bill of materials included with your plan download, not on this page.
This page does not endorse a specific brand as required; it links to categories of product that match what each plan's cut list calls for.
What the plans call for
- Half inch hardware cloth for runs, vents and any opening: chicken wire keeps hens in, not predators out
- Exterior rated screws and, for anything in ground contact, fasteners rated for treated timber
- Two step latches on every door and nest box lid, the kind that need a thumb rather than a paw
- Fencing staples or washers so the hardware cloth is captured through the mesh, not tacked at the edge
- Feeders and waterers sized to the flock, plus a winter answer for water that freezes
Where not to economise
Hardware cloth and latches are the two lines where the cheap option costs a flock. Everything else can be bought on price: ordinary framing lumber picked straight, standard sheet goods, any saw that cuts square. A run wrapped in chicken wire looks the same on day one and is not the same at three in the morning when something is pulling at it.
About these links
Links go through the Amazon Associates program, which pays a small commission on qualifying purchases at no extra cost to you. Nothing here is a paid placement and no brand is required by the plans: the specification that matters is the mesh size, the rating and the latch type.
Set Out the Material Takeoff Before You Buy
Print the cut list from your chosen plan and mark every board, sheet, roll and fastener before ordering. A good material takeoff takes 30 to 45 minutes for a small coop and prevents most wrong-size purchases. Work from the frame outward: skids or base, floor frame, wall studs, roof framing, sheathing, trim, mesh, doors and hardware. If you have not selected a build yet, choose the plan first on the plans page, then buy materials from that bill of materials.
For lumber, add only a small waste allowance. For straight framing stock, 10 percent extra is usually enough. For sheet goods, buy by full sheets and plan cuts so factory edges land on visible outside corners. For hardware cloth, measure each opening, then add at least 2 inches of overlap on every edge that will be captured by framing, battens, washers or staples.
- Check lumber by sighting down the length. Reject boards with twist, large crown, deep splits or wet weight that is far above the rest of the stack.
- Keep roof sheets, wall sheets and floor sheets flat until they are installed. Leaning them against a wall for several days can bow them.
- Buy screws long enough to pass through the first piece and bite well into the second piece, without projecting into the bird area.
- Separate exterior structural fasteners from temporary screws. Do not leave indoor screws in the finished coop.
Useful Dimensions and Working Clearances
Most material errors happen because the opening, not the outside wall, was measured. Measure the clear hole for a vent, pop door, cleanout door or run panel, then size the mesh or cover piece to overlap the surrounding frame. A 2 inch overlap gives room for fasteners without placing them on the very edge of the cloth.
When cutting wire mesh, use gloves, eye protection and side cutters or aviation snips. Cut it on a flat scrap board and keep offcuts in a bucket. Small mesh points are sharp enough to cut skin and can puncture tires if left on the floor. A typical vent or run panel can take 10 to 20 minutes to cut, square and fasten if the frame is ready.
| Item to check | Practical figure | Reason |
|---|---|---|
| Mesh overlap on framed openings | 2 inches minimum | Leaves room for secure fastening through the mesh. |
| Fastener spacing on mesh edges | About every 3 to 4 inches | Reduces gaps a predator can pull open. |
| Clearance under swinging doors | About 1/8 to 1/4 inch | Allows seasonal swelling without leaving a large gap. |
| Roof overhang beyond siding | At least 2 inches where the plan allows | Helps move drip lines away from wall edges. |
| Time to sort and label parts | 30 to 60 minutes | Prevents using a long board where a short part was planned. |
Label repeated parts with pencil after cutting. Mark wall studs, rails, rafters and door parts as separate groups. If two pieces are close in length, write the exact finished length on each part. This matters when a coop has several similar frames but only one receives hinges or a latch.
Common Mistakes and Recovery
If a door binds after assembly, do not force the latch into place. First check whether the frame is square by measuring both diagonals. If the diagonals differ by more than 1/4 inch on a small door, loosen the hinges, square the door and reinstall it. If the wood has swollen, plane or sand the edge that rubs, then reseal the exposed edge before the coop goes outside.
If hardware cloth was cut too small, do not bridge the gap with a narrow loose strip. Remove the piece and replace it with one that overlaps the frame correctly. If replacement is not possible that day, cover the opening temporarily with a larger scrap that overlaps all sides and is fastened at close spacing. Treat that as a temporary repair, not the final enclosure.
If a screw splits the end of a board, back it out, clamp the split if possible and drill a pilot hole before driving a new fastener. Keep end screws back from the end grain when the plan allows. If a hole is stripped, move the screw to fresh wood or plug the hole with glued wood and let it cure before reusing it.
If you bought untreated material for a part that will sit on wet soil, do not install it in ground contact. Replace that part with suitable ground-contact material or change the base detail so the wood is kept off soil with blocks, pavers or another dry support method. For build sequence questions, the general answers on the FAQ page can help before you cut replacement stock.
Special Cases to Plan For
In wet climates, protect sheet edges before assembly when access is easy. Floor edges, lower wall edges and door bottoms take the most water. Cut edges absorb faster than factory faces, so seal them before they are trapped behind trim or mesh.
In hot climates, ventilation openings are often larger and more important than insulation. Plan the mesh and trim layout so air can pass high in the coop while rain stays out. Do not block upper vents with storage bins, nest box lids or shade panels added later.
In freezing climates, allow space for winter water service before fixing the final interior layout. A waterer placed too close to a wall may be hard to remove with gloves on. Leave hand clearance around the water point and keep cords, if used, outside pecking and scratching paths according to the device instructions.
For uneven sites, buy base materials after checking level across the footprint. A difference of 2 inches across a small coop can usually be corrected with careful blocking. Larger differences may need grading or a raised base. Do this before wall framing, because a twisted base makes every later door, roof panel and latch harder to fit.
Read next
- About Coop Build Plans: Coop Build Plans, built and run by WEABLE SAS.
- Walk-In Coop Plan, 8x8 ft: Walk-in chicken coop plan, 8x8 ft footprint, for 6 to 20 hens.
- Your files: Access your purchased Coop Build Plans downloads here.